
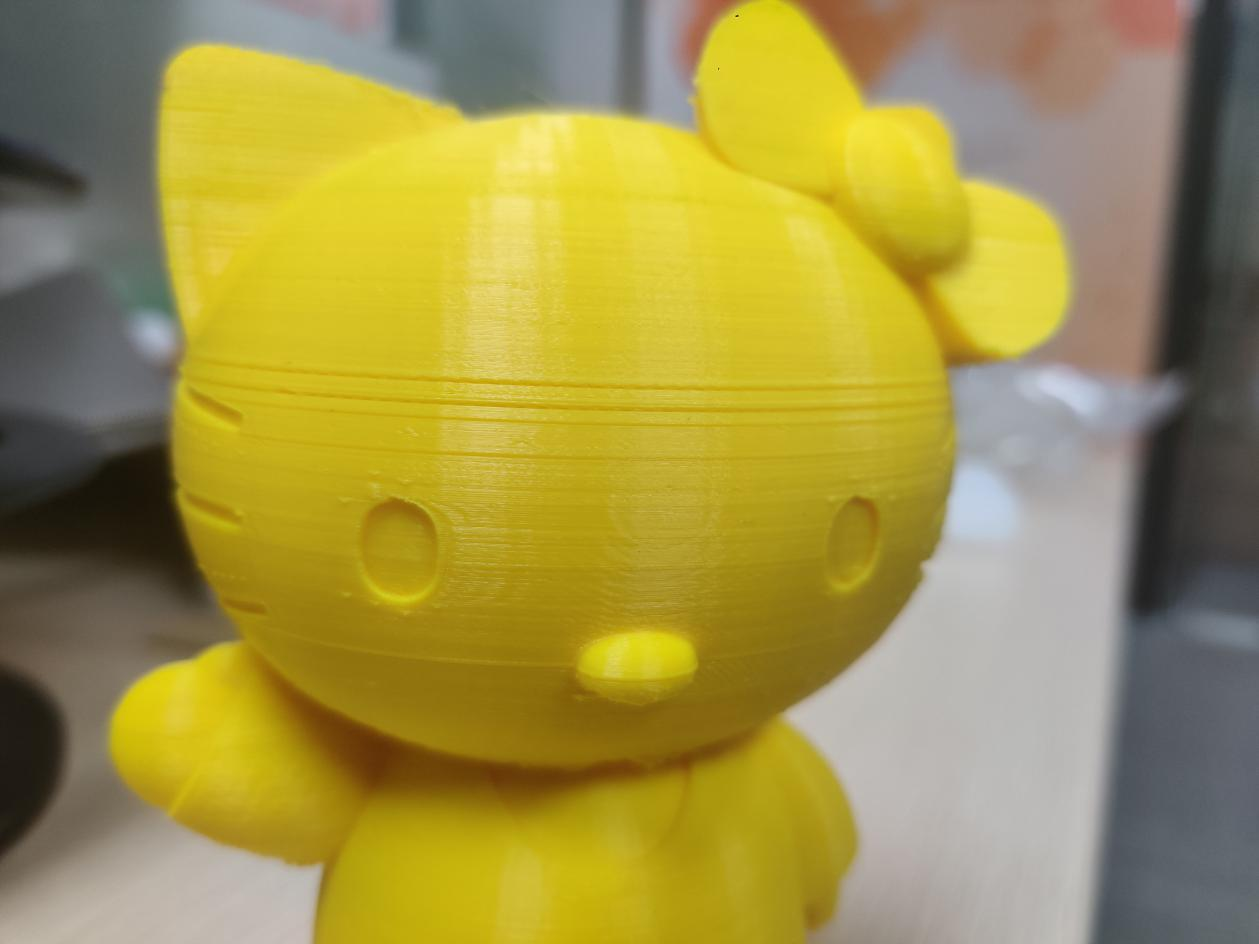
WHAT’S THE ISSUE?
During printing, some layers are partially or completely skipped, so there are gaps on the surface of the model.
POSSIBLE CAUSES
∙ Resume the print
∙ Under-Extrusion
∙ Printer Losing Alignment
∙ Drivers Overheating
TROUBLESHOOTING TIPS
Resume the print
3D printing is a delicate process, and any pause or interruption may cause some defects to the print. If you resume the printing after a pause or a power failure, these may cause the model to miss some layers.
Avoid pause during printing
Make sure the filament is sufficient and the power supply is stable during printing to prevent Interrupting to print.
Under-Extrusion
Under extrusion will cause defects such as missing filling and poor bonding, as well as layers missing from the model.
UNDER-EXTRUSION
Go to Under-Extrusion section for more details of troubleshooting this issue.
Printer Losing Alignment
Friction will cause the print bed to temporarily stuck and the vertical rod could not completely align to the linear bearings. If there is any deformation, dirt or excessive oil with the Z-axis rods and bearing, the printer will lose alignment and cause layer missing.
Spool holder interference with Z-axis
Since the spool holder of many printers is installed on the gantry, the Z axis stands the weight of the filament on holder. This will affect the movement about Z motor more or less impact. So don’t use the filaments that too heavy.
ROD ALIGNMENT CHECK
Check the rods and make sure there have firmed connection between the rods and the coupling. And the installation of the T-nut is not loose and does not hinder the rotation of the rods.
Check EVERY axes
Ensure that all axes are calibrated and not shifted. This can be judged by turning off the power or unlocking the stepper motor, then moving the X axis and Y axis slightly. If there is any resistance to the movement, there may be a problem with the axes. It is commonly easy to detect whether there are problems with misalignment, bent rod, or a damaged bearing.
WORN BEARING
When the bearing is worn, a buzzing sound is made when moving. At the same time, you can feel the nozzle won’t move smoothly or seems to vibrate slightly. You can find out the broken bearing by move the nozzle and print bed after unplug the power or unlock stepper motor.
CHECK FOR OIL
It is very essential to keep everything lubricated in place for the smooth operation of the machine. Lubricating oil is the best choice because it is cheap and easy to buy. Before lubrication, please clean the guide rails and rods of each axis to ensure that there is no dirt and filament debris on the surface. After cleaning, just add a thin layer of oil, then operate the nozzle to move forth and back to ensure that the guide rail and rods are completely covered with oil and can move smoothly. If you use too much oil, just wipe some off with a cloth.
Drivers Overheating
Due to some reasons such as the high temperature of the working environment, long continuous working time, or batch quality, the motor driver chip of the printer may overheat. In this situation, the chip will activate the overheating protection shut down the motor drive in a short time, causing layers missing from the model.
Increase Cooling
Add fans, heat sinks or heat-dissipating glue the driver chip to reduce the working temperature of the driver chip and avoid overheating.
Reduce motor drive current
If you are good at fixing or the printer is completely open source, you can reduce the current driven by adjusting the settings of the printer. For example, find this operation in the menu “Maintenance -> Advanced -> Movement Settings -> Z Current”.
Replace the mainboard
If the motor is seriously overheating, there may be an issue with the mainboard. It is recommended to contact the customer service to replace the mainboard.
Post time: Dec-29-2020